Ultra Drive 3D™
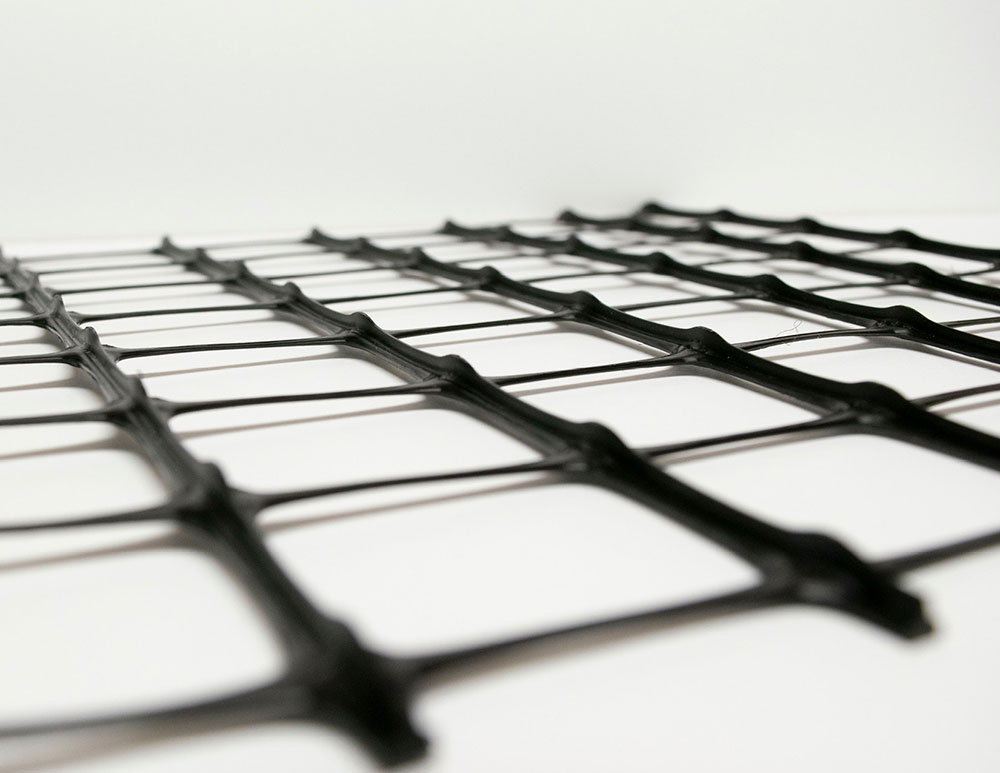
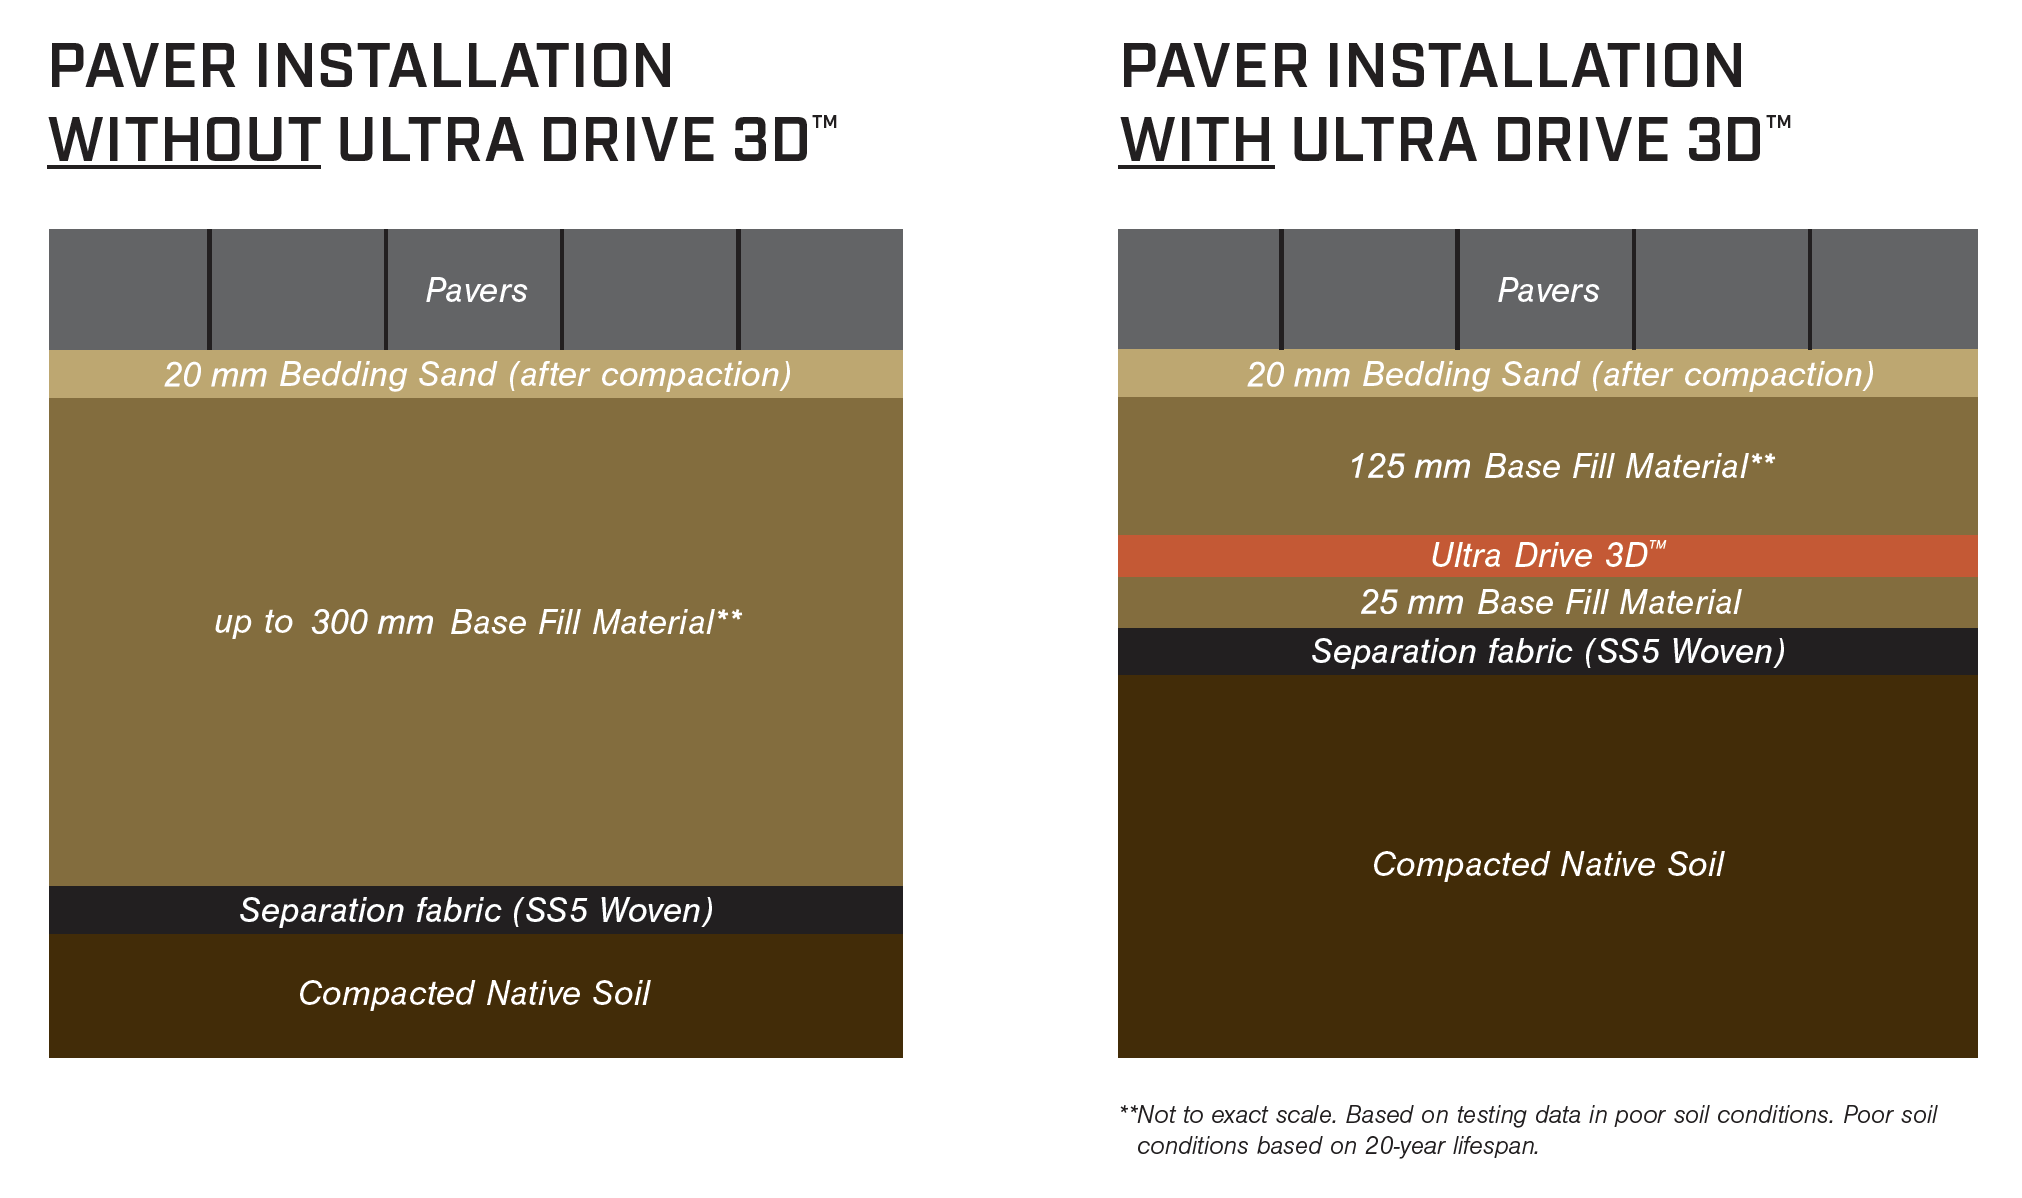
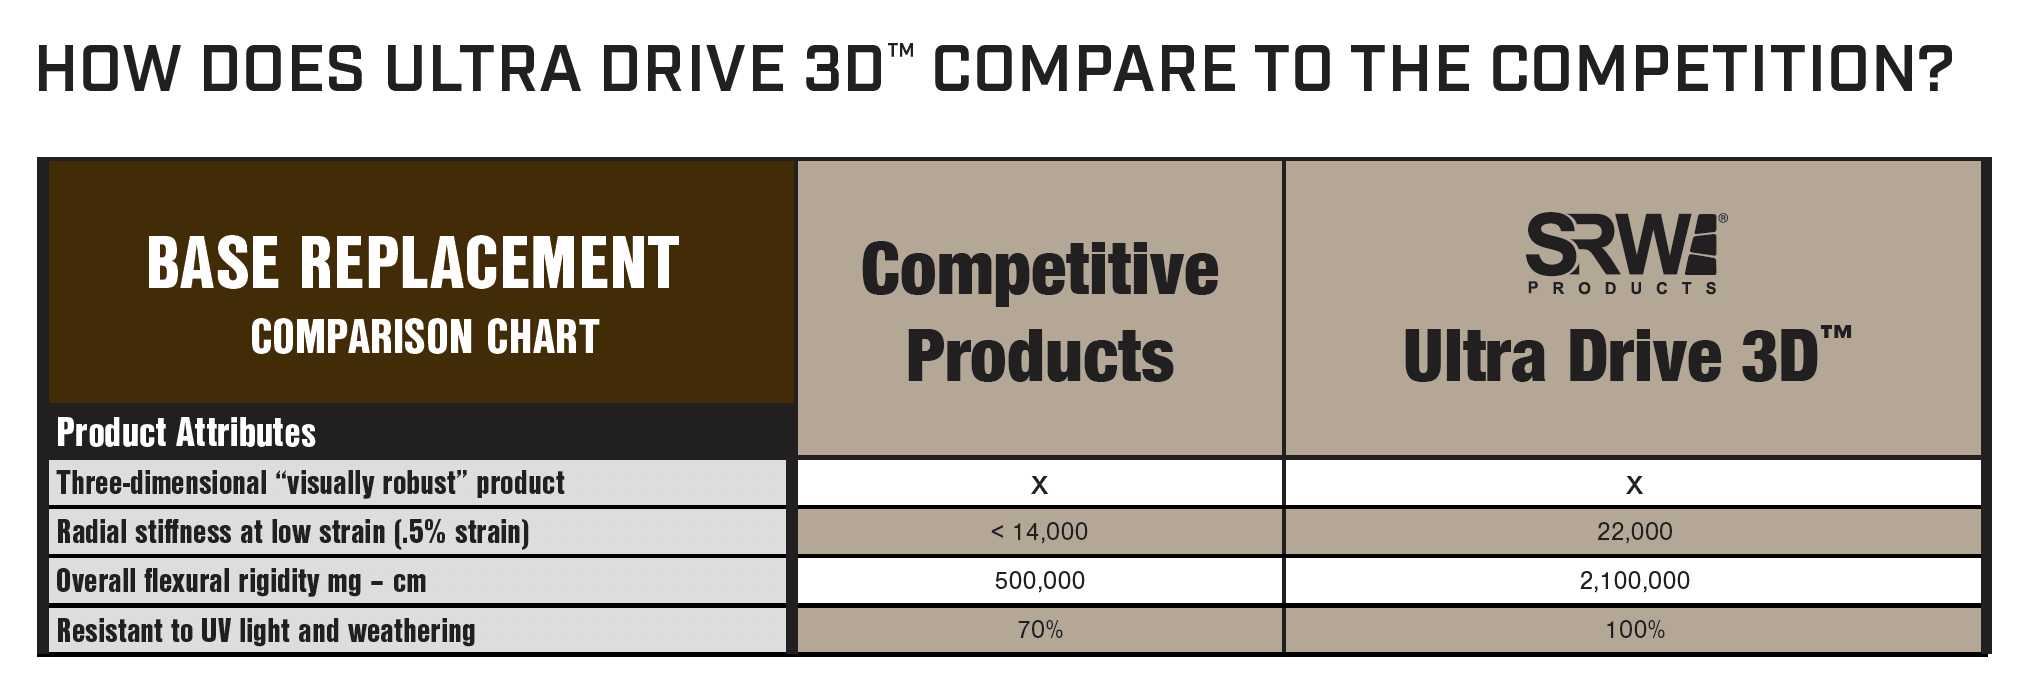
Ultra Drive 3D™ Three-Dimensional Driveway Grid Driveway grid that allows for reduction of base excavation and fill up to 50% in poor base soil. It's easy to install and conforms to standard guidelines for paver installation process.
Benefits
- Save up to 50% on Base Excavation*
- Reduces base excavation and fill up to 50% in poor base soil.
- Easy to Install
- Follows and conforms to standard guidelines for paver installation process. No special procedures needed.
- Reduce effects of Freeze/Thaw
- Significantly reduce the effects of freeze/thaw cycles on paver driveways.
- Strongest Driveway Grid
- Strongest driveway grid in the market. Up to 15% stronger than competitive products.
Applications
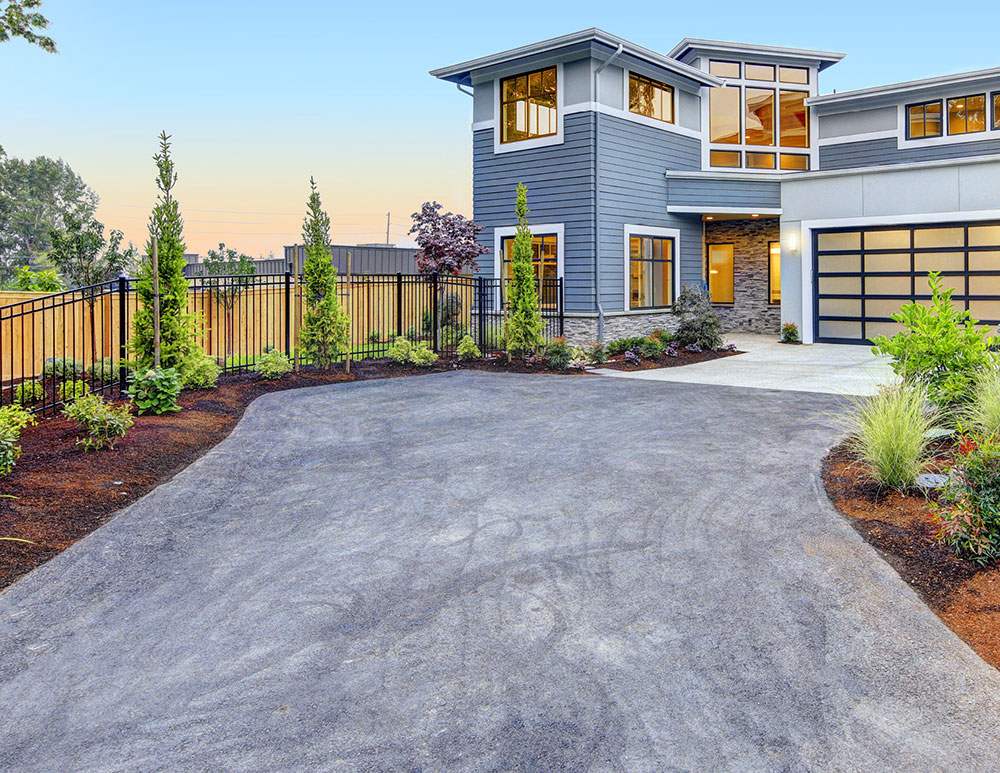
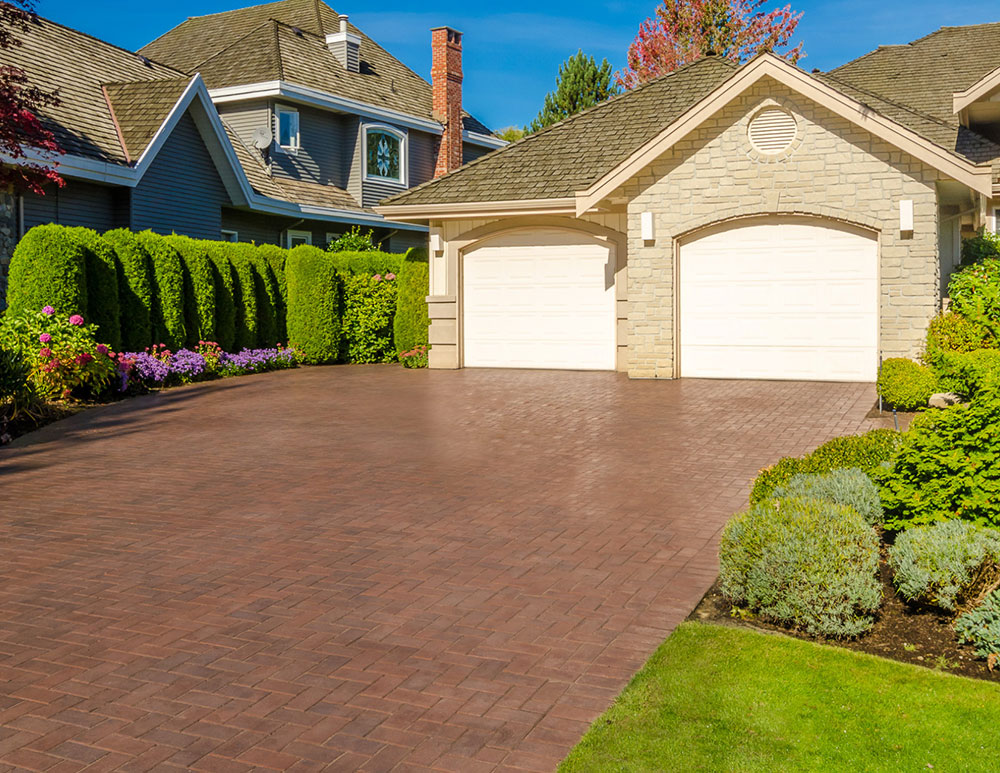
- Paver Driveways
- Asphalt Driveways
- Concrete Driveways
*Approximate savings will vary depending on location/area and soil quality.
Instructions
STEP 1: EXCAVATION
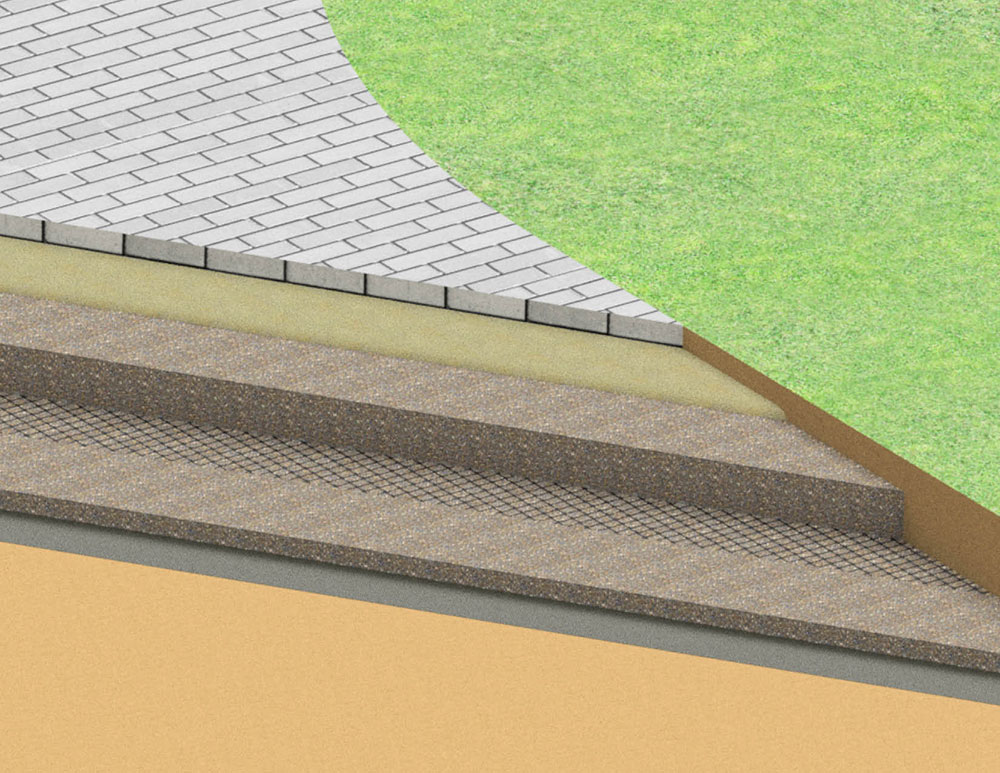
Total excavation depth will be determined by several factors including paved surface thickness, bedding sand layer (paver applications), total aggregate base thickness. Simply add all of the various elements to reach the total excavation depth.
A. Excavate the area of the paved surface down to the desired depth.
B. Take care to properly slope and grade the native soil while excavating to achieve intended water drainage.
STEP 2: PREPARATION
C. Compact the excavated area using a plate tamper or a ride on drum roller. Additional compaction can be achieved if using a ride-on drum roller with a vibrating front drum. Hydrate the area if necessary, to achieve maximum compaction.
D. Using SRW SS5 Woven Separation Fabric, roll out the geotextile over the entire area of the project overlapping 150-600mm at the seams. Allow for excess material (300mm) on each side of the final paved surface. Pull the fabric taught and secure using staples.
Product Tip: Installing a separation fabric is critical to the longevity of a proper sub-base system. Separation fabric prevents the migration of material between the Aggregate base and the native soil, which can directly lead to premature failure of the base support under any paved surface.
E. Spread out the desired aggregate base material to a depth of 25mm, taking great caution not to drive equipment directly on the SS5 fabric.
STEP 3: INSTALLATION
F. Unroll the Ultra Drive 3D™ in the same direction as the driveway/direction of traffic (start at the garage/apron and unroll to the street). Overlap the Ultra Drive 3D™ grid 450mm at seams.
G. Pull the grid taught, and secure with staples if necessary to keep it flat.
H. Spread out a 50mm layer of base material over the Ultra Drive 3D™, again taking great caution not to drive equipment on the grid.
I. Compact the base material using a plate compactor or ride-on drum roller. Compact multiple times, in opposing directions, until the base material is as compacted as possible.
Repeat steps “H” and “I” until full base thickness is achieved. Make certain the base is compacted every 50mm lift in order to ensure complete interlock with the grid.
J. Install paved surface according to manufacturer recommendations.
Packaging
Ultra Drive 3D™ Three-Dimensional Driveway Grid
| PART NUMBER | SIZE | TOTAL SQ M | QUANTITY |
|---|---|---|---|
| GSRW UD3D 125150 | 3.81m x 45.7m | 19.35 | 1 |
| GSRW UD3D 65150 | 1.98m x 45.7m | 10.06 | 12/PLT |
Ready to purchase?
Dealers/Distributors: Contact our Customer Service Team, at Baines Masonry to place an order.
Contractors & Homeowners: Contact Us to find out where you can purchase our products!
Frequently Asked Questions

Call us on (02) 4631 1383 . We will gladly help locate a supplier near you!

